As a teacher, you know that multiplication facts seem to be a rite of passage. Whether a student is sitting in a public school, private school, homeschool classroom, or the kitchen, it is generally assumed that they should know the multiplication tables by the end of third grade. Fifty years ago, flashcards and timed quizzes were the norm rather than the exception. Educational methods came and went, leaving the average age expectation the same. Some techniques pushed understanding over memorization; some demanded memorization go by the wayside. In the era of Common Core math, educators still debate fluency and memorization. No matter what the theoretical spin, you know how important multiplication is in real life.
9 Ways to Teach Multiplication Facts

Multiplication Methods ... Let Me Count the Ways!
#1 - Connect multiplication with addition.
Ideally, parents, educators, and students alike would agree that knowing how to multiply is an essential and useful skill. Of course, teachers want their pupils to understand the why behind the facts. To ensure understanding, connect repeated addition with multiplication. For example, in order for a child to know that 3 times 6 equals 18, the child must know that 6 + 6 + 6 = 18. Next, practice with arrays. Children should be learning multiplication facts in a logical fashion, but not necessarily in order.
#2 -Use creative and fun ways to reinforce the multiplication tables.
Bring on the fun. You've stressed understanding. You've implemented repetitive tasks in order to increase fluency. What are some creative ways to make this step more fun? There are so many creative, easy ways to make learning the multiplication tables more enjoyable. Play a game of multiplication war. Yes, this is the good old card game you played for hours as a kid, now with multiplication facts thrown in! Use stickers to put equations on the top of bottle caps and the corresponding answers on the bottom. For the artistic student, have them color a Waldorf multiplication flower with numbers 1-9 on the inside, 12 inner petals for 1-12, and 12 outer petals for the products. How about making some arrays with unusual items? There's more information here: You could share some silly and charming multiplication songs with your class, too. Many students find music very helpful when learning. To switch things up, why not use multiplication name tags for a day?
#3 - Share a book about multiplication.
For those educators looking for an interdisciplinary approach, a good book and math can certainly go hand-in-hand. Times Tables the Fun Way Book for Kids approaches the difficult tables with cartoons and stories to remember. Multiplying Menace mixes math and Rumpelstiltskin. The Best of Times offers an intuitive understanding of multiplying. In addition, why fight technology when you don't need to?
#4 - Start with the traditional grid method and long multiplication.
When students have moved beyond the third-grade methods, and the facts are not the only focus, there are a variety of ways available to address double-digit multiplication. Most traditionally, teachers are familiar with the grid or box method. Numbers are partitioned into tens and ones before they are multiplied. After the multiplication is completed in the boxes/grids, the numbers are added together.
After the grid method, the most traditional multiplication method is long multiplication. This was and is the old-school method and often known as column multiplication. It is faster and more efficient than the grid method. Numbers are positioned in columns with the larger number above the smaller number. Multiply through. Start with the ones column of the smaller number. Next, put a zero in the ones column and then multiply by the tens place of the bottom number. Add totals to get the product.
#5 - Take a look at the lattice method.
An alternative to long multiplication is the lattice method. Create a lattice based on the number of places in both numbers. Write one number across the top. Write one number down the right side. Draw diagonals to build cells. Calculate a product by multiplying the digit at the top and the digit to the right. Add the numbers between every pair of diagonals. Carry when necessary. The final product is read as the digits down the left and then along the bottom.
#6 - Make things interesting with the Japanese Multiplication Method.
In the Japanese Multiplication Method parallel lines are drawn to represent the digits of the numbers to be multiplied perpendicularly to one another. Dots are placed where one line crosses another line. Curved lines are made on the left side with no points and on the right side with no points. Points are counted on the right, in the middle, and on the left. If the number of points on the right is greater than 9, carry then add whatever the number in the tens place is to the number of points in the middle. Now, do the same thing if the middle number is greater than 9, and add it to the number from the left corner. You have your official product!
#7 - Make things cool with Vedic Math.
Vedic Math is an ancient system of Indian mathematics. Today, some use it as a form of mental math. For a double-digit number by a double-digit number, line the numbers up first. Second, multiply the numbers in the left column. Third, multiply the diagonal digits, and add those answers together. Fourth, multiply the digits in the right column. When necessary, carryover and add the left side of the digits to finalize your product.
#8 - Don't forget Egyptian math.
Egyptian math is also known as doubling. See an example here: . Create a chart with a left and right side. Then, choose one of the numbers from the equation that you are trying to solve. Put that number on the right side of the chart. On the left side, put the double numbers 1, 2, 4, 8, 16, and so on.[[[AUTHOR: Please consider clarifying the phrase "double numbers" in the preceding sentence, as the meaning is unclear without visiting the link. Thank you!]]] Stop when you get to a number larger than that on the right side. Now move to the right-hand column. Keep doubling your chosen number. Identify the numbers on the left side that add up to the one factor you have not doubled in the equation. Find the corresponding numbers from the right-hand side, where you did your doubling for the other factor. Add up the corresponding numbers from the right-hand column. You have the product of the original equation just by adding! Isn't that cool?
#9 - Practice with some fun materials.
Do you want to try out some of these techniques and utilize your students' multiplication skills? Use these free multiplication worksheets.
2nd Grade Multiplication: 2nd Grade Multiplication Worksheets Free PDF Workbook
3rd Grade Multiplication: 3rd Grade Multiplication Worksheets Free PDF Workbook
4th Grade Multiplication: 4th Grade Multiplication Worksheets Free PDF Workbook
5th Grade Multiplication: 5th Grade Multiplication Worksheets Free PDF Workbook
Trending
Weekly Lesson Plan Power-Ups

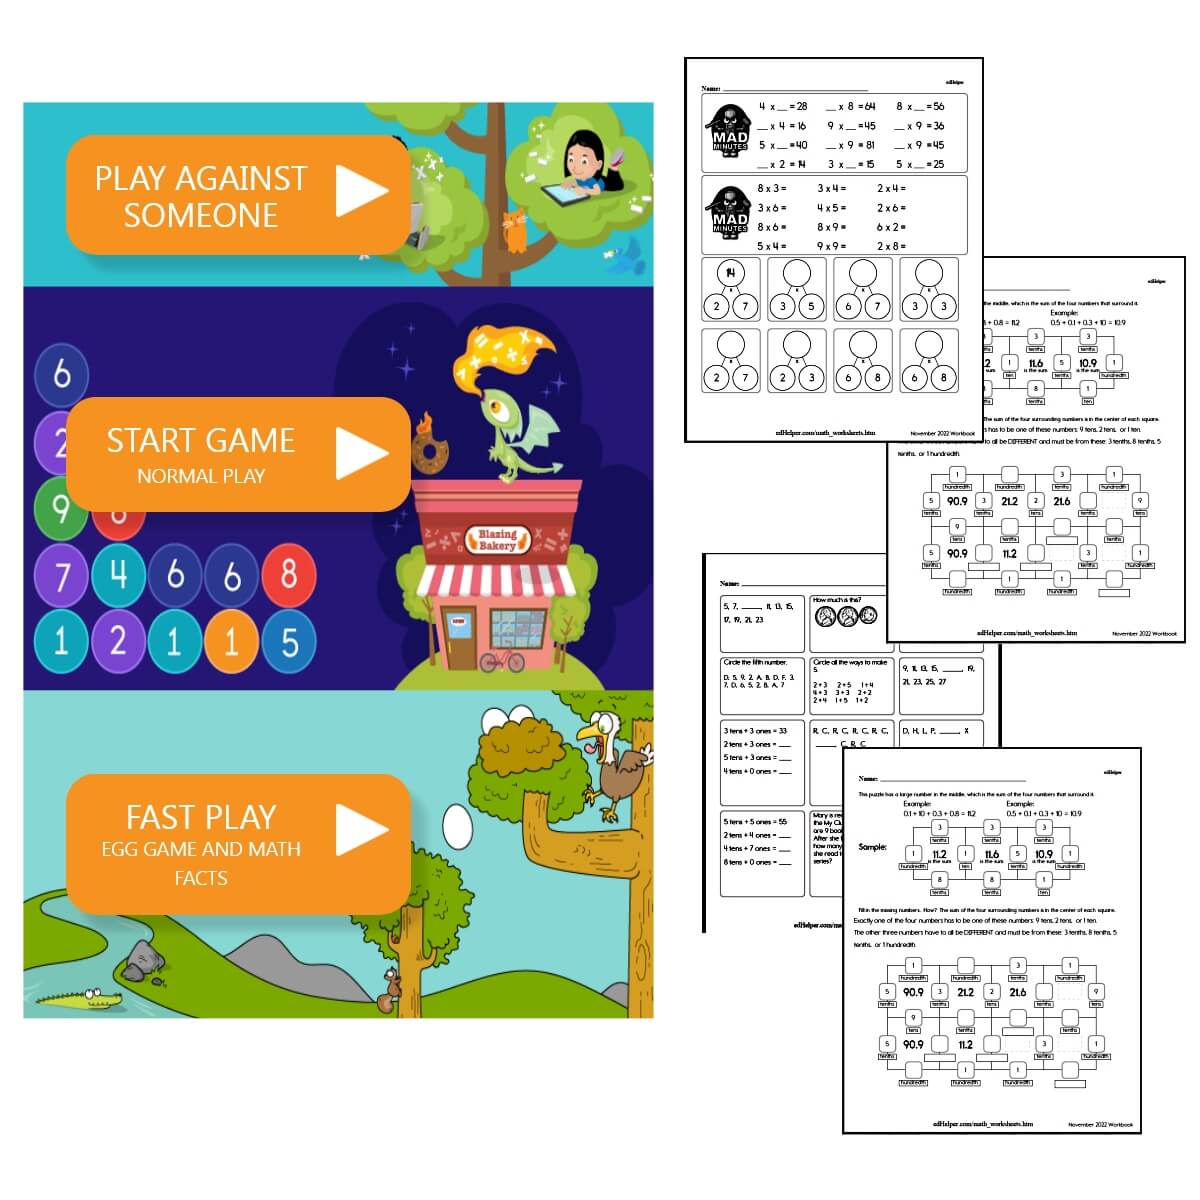
Daily Math Practice
Math Homework for Generation Alpha

Freebies for Busy Teachers
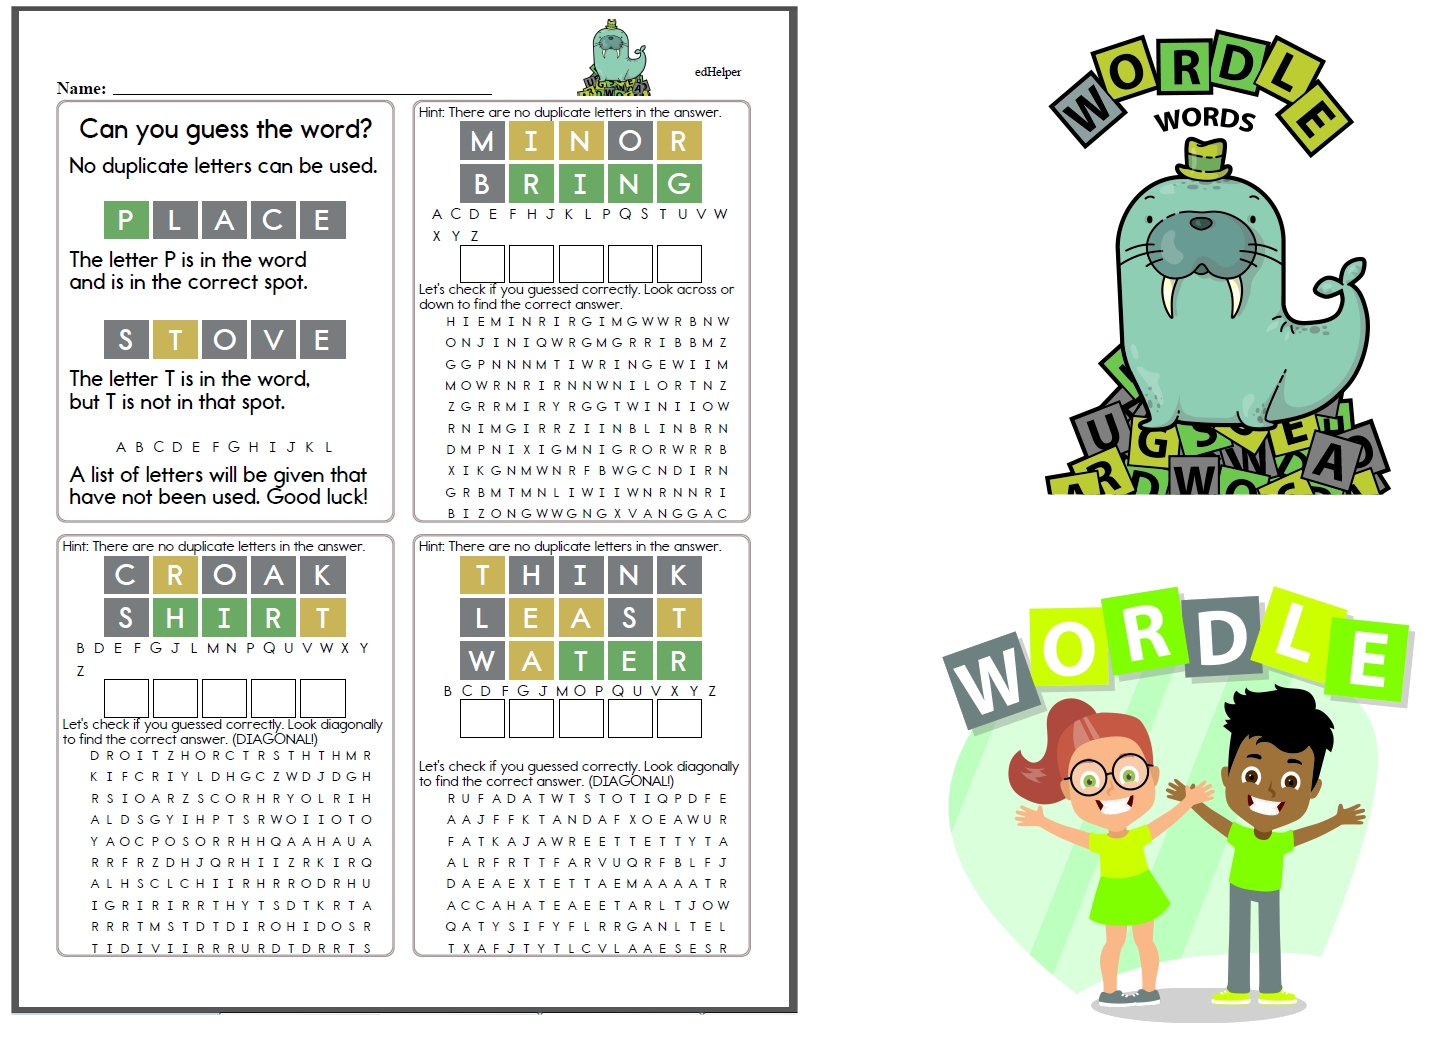
Wordle Worksheets
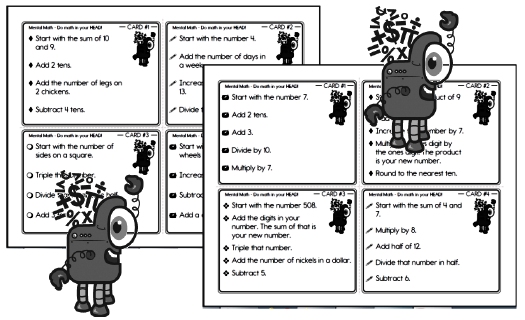
Mental Math Task Cards
Elementary School Children Don't Get Enough Math Practice at Home
10 Math Worksheets That Work for Teachers (Free Printables)

Do Math Worksheets Really Work? What We Found May Surprise You.

Best Teaching Ideas

Math Worksheets
Free Math Worksheets - No Login
Kindergarten Jumbo Math Worksheets PackFirst Grade Jumbo Math Worksheets Pack
Second Grade Jumbo Math Worksheets Pack
Third Grade Jumbo Math Worksheets Pack
Fourth Grade Jumbo Math Worksheets Pack
Fifth Grade Jumbo Math Worksheets Pack
Sixth Grade Jumbo Math Worksheets Pack
Middle School Jumbo Math Worksheets Pack